Alpha II Annex Room, 87x82 Inches, Olive
- Description
- Features
- Specifications
- Instructions
- Important Notes
- Q&A
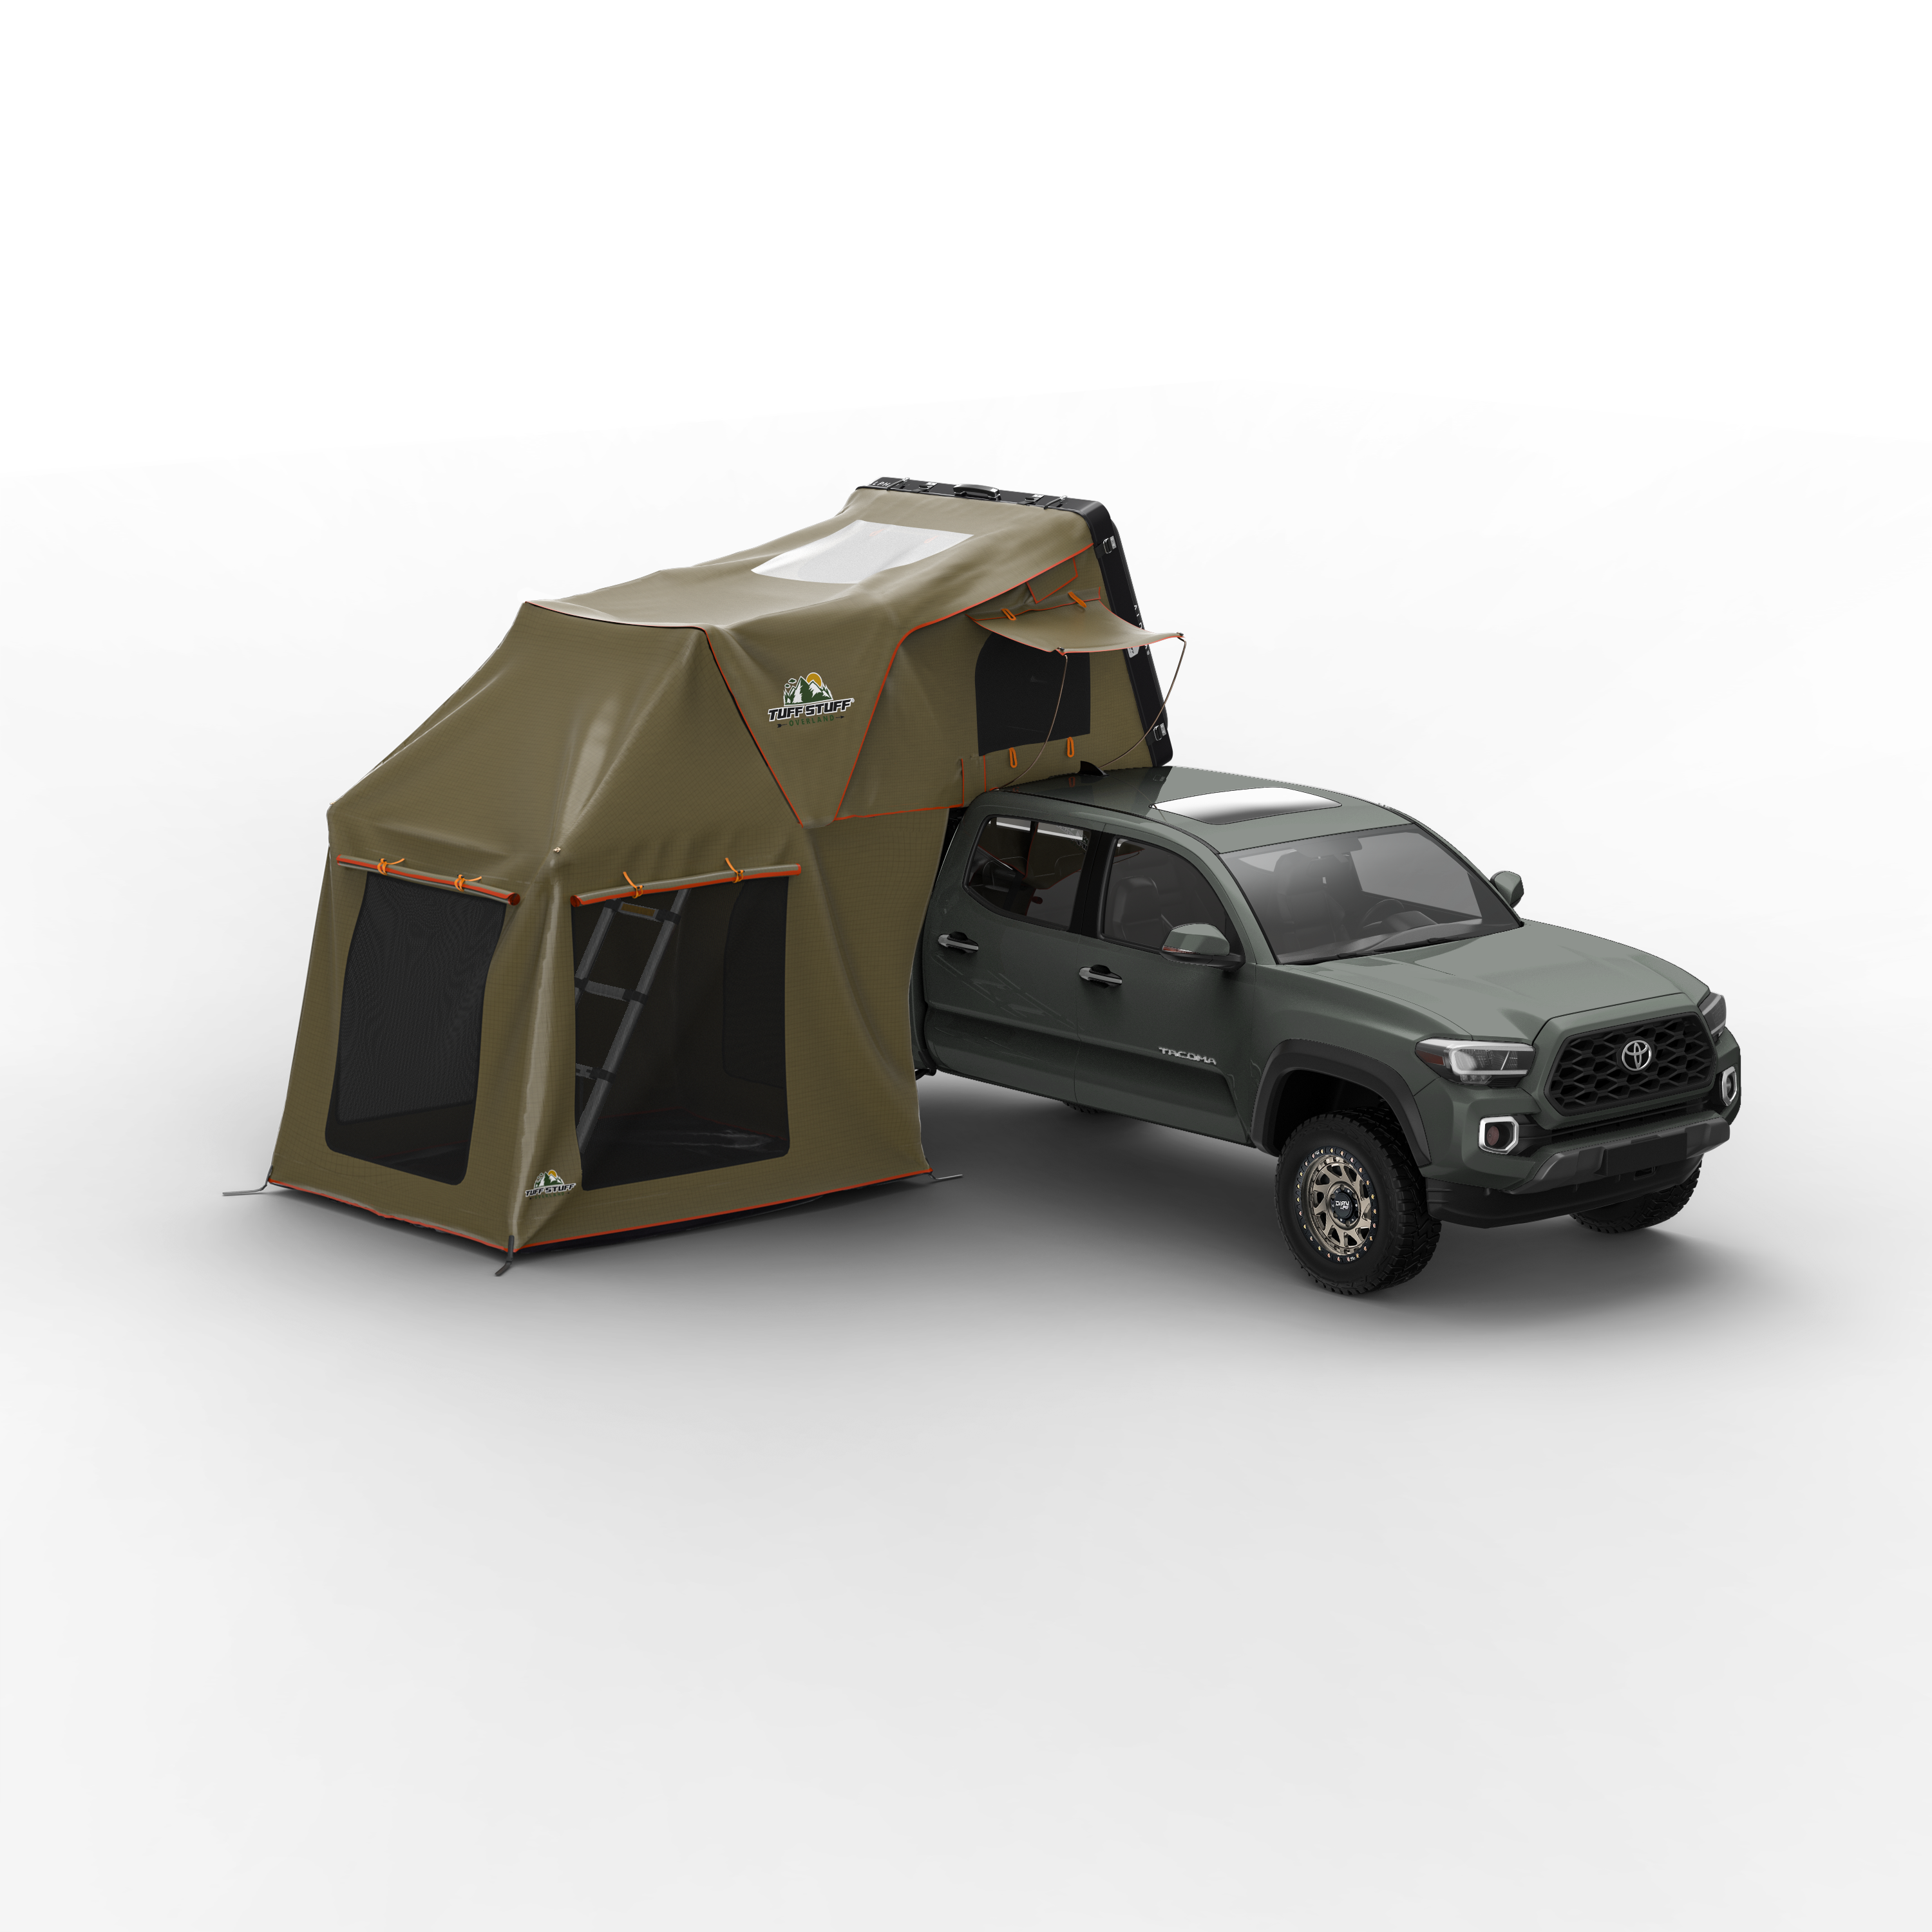
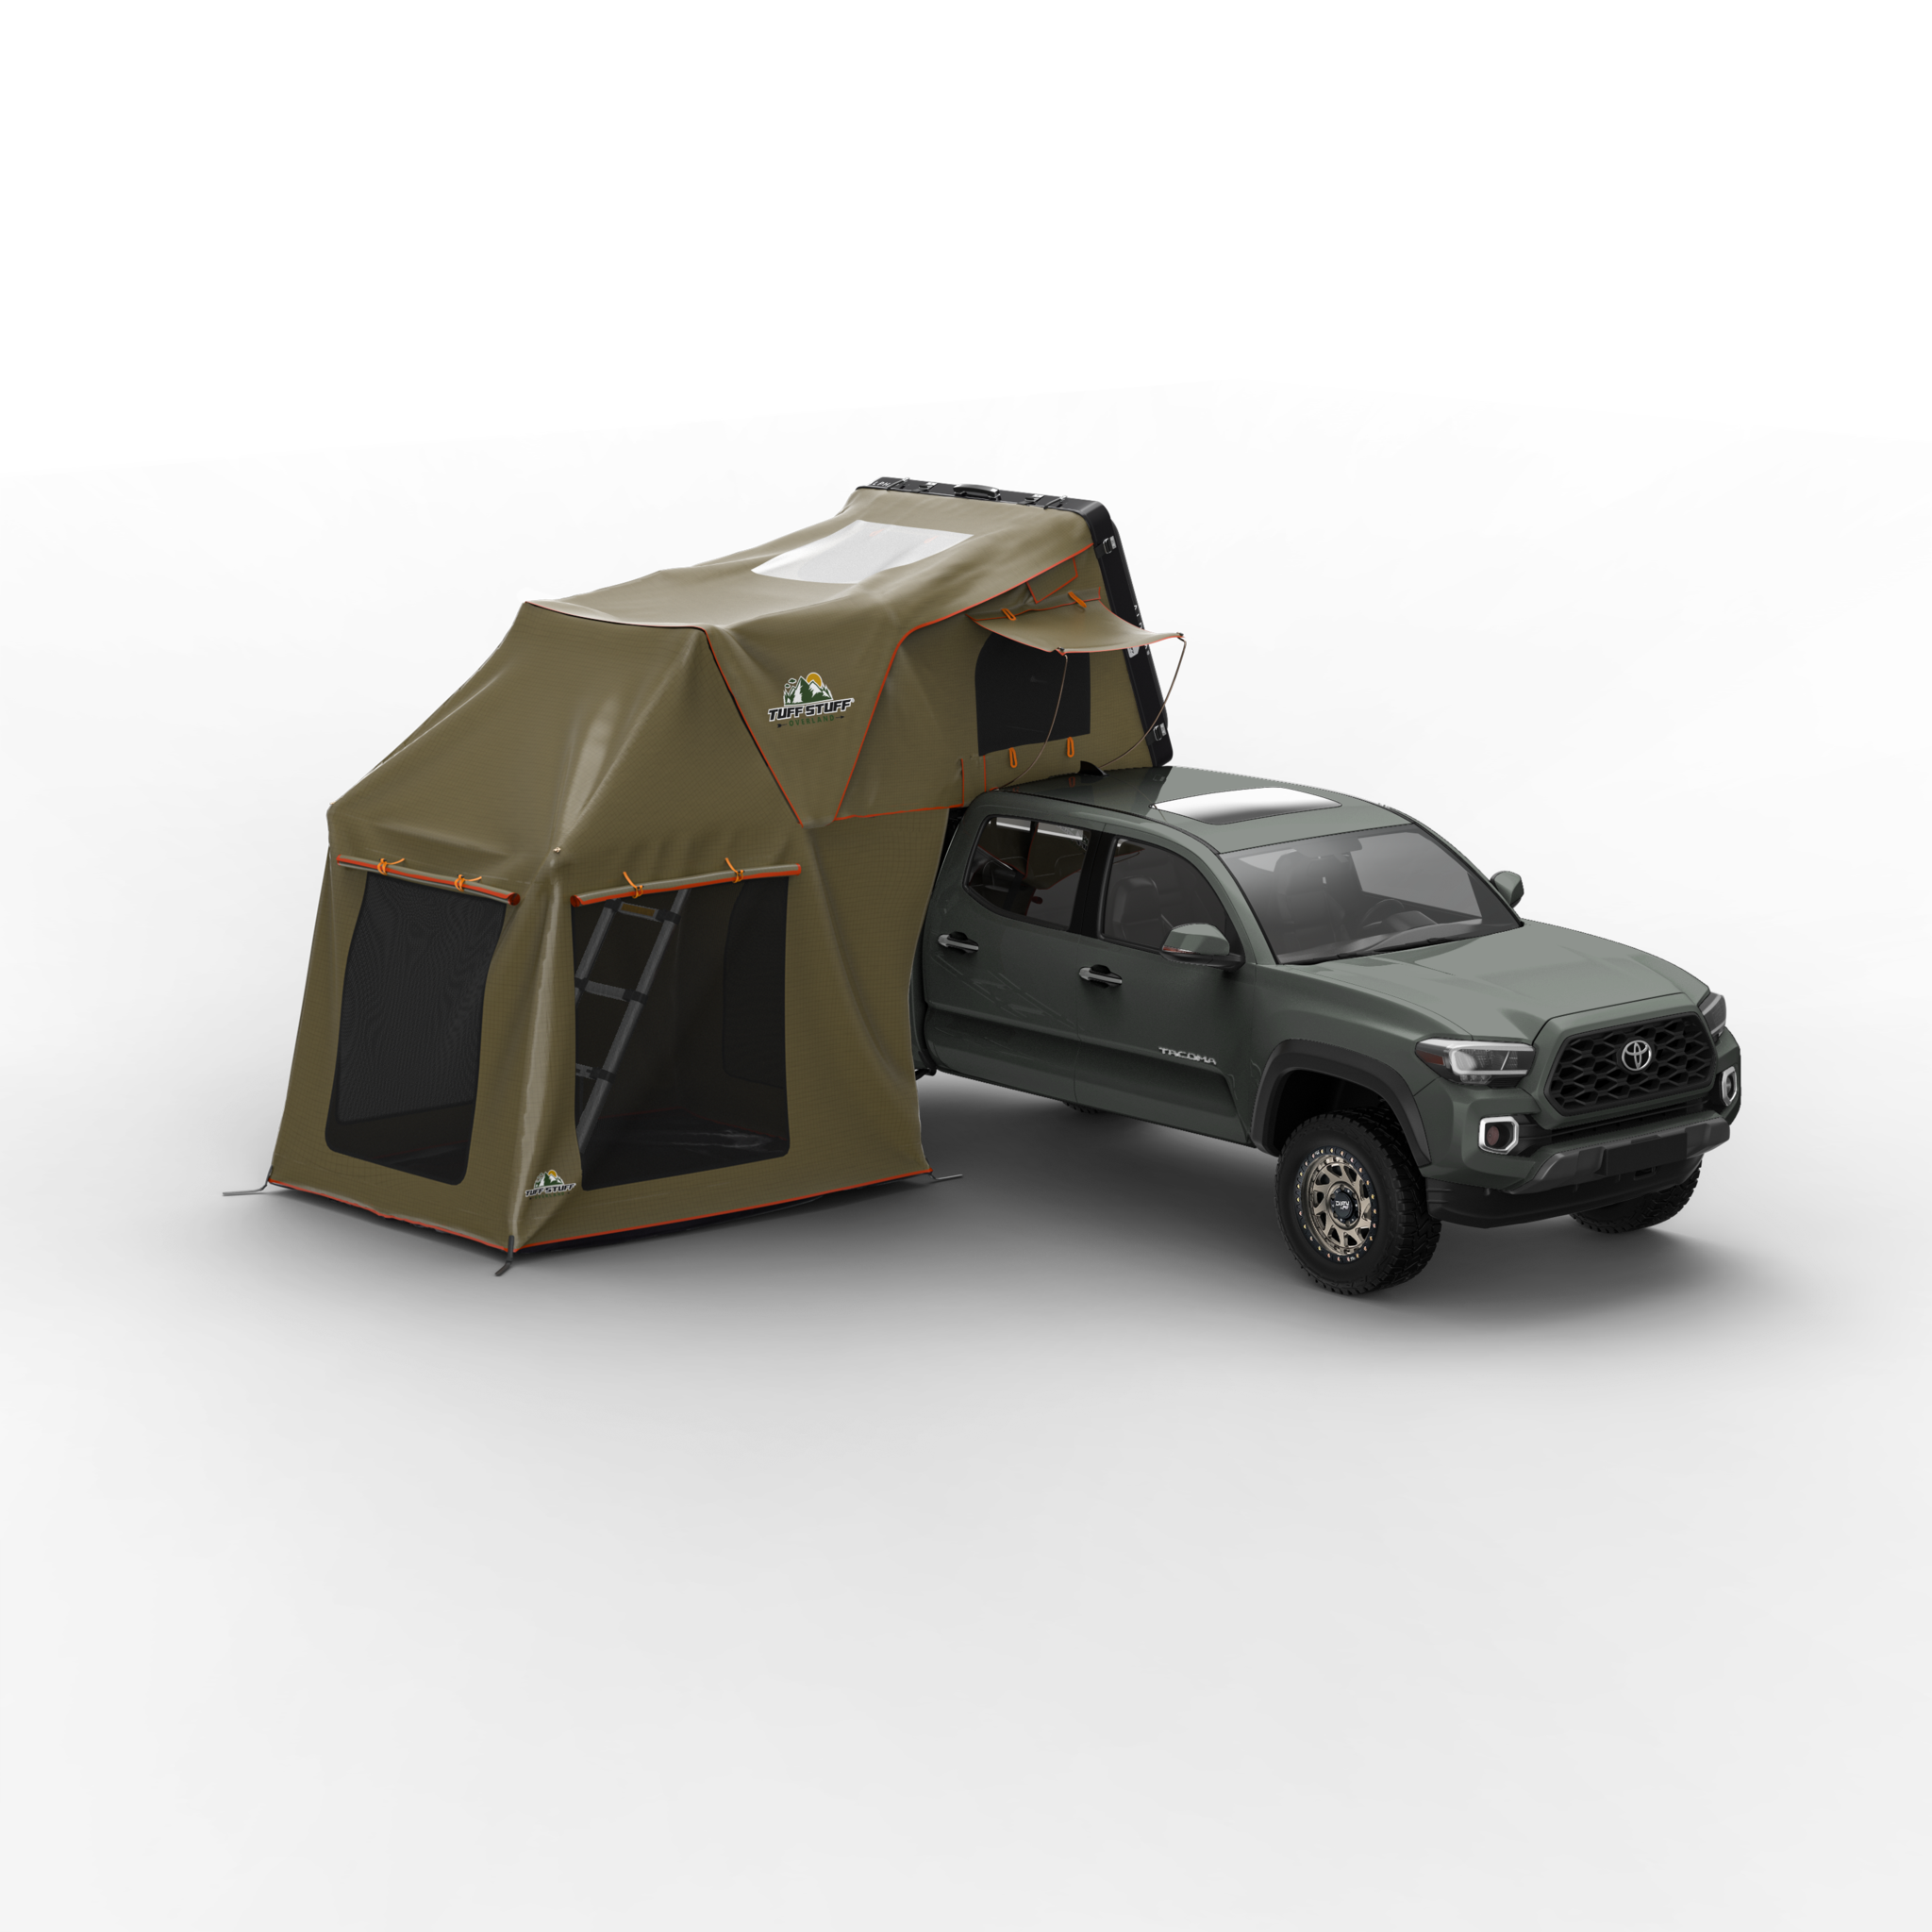
The Alpha II Annex Room transforms the versatility of your Alpha II rooftop tent. Gain an additional enclosed space to use for sleeping, a camp kitchen, or just a hangout.
*This is the annex room only, the Alpha II tent is sold separately.
• Measures a generous 87 x 82-inches for plenty of room
• Heavy-duty YKK zippers
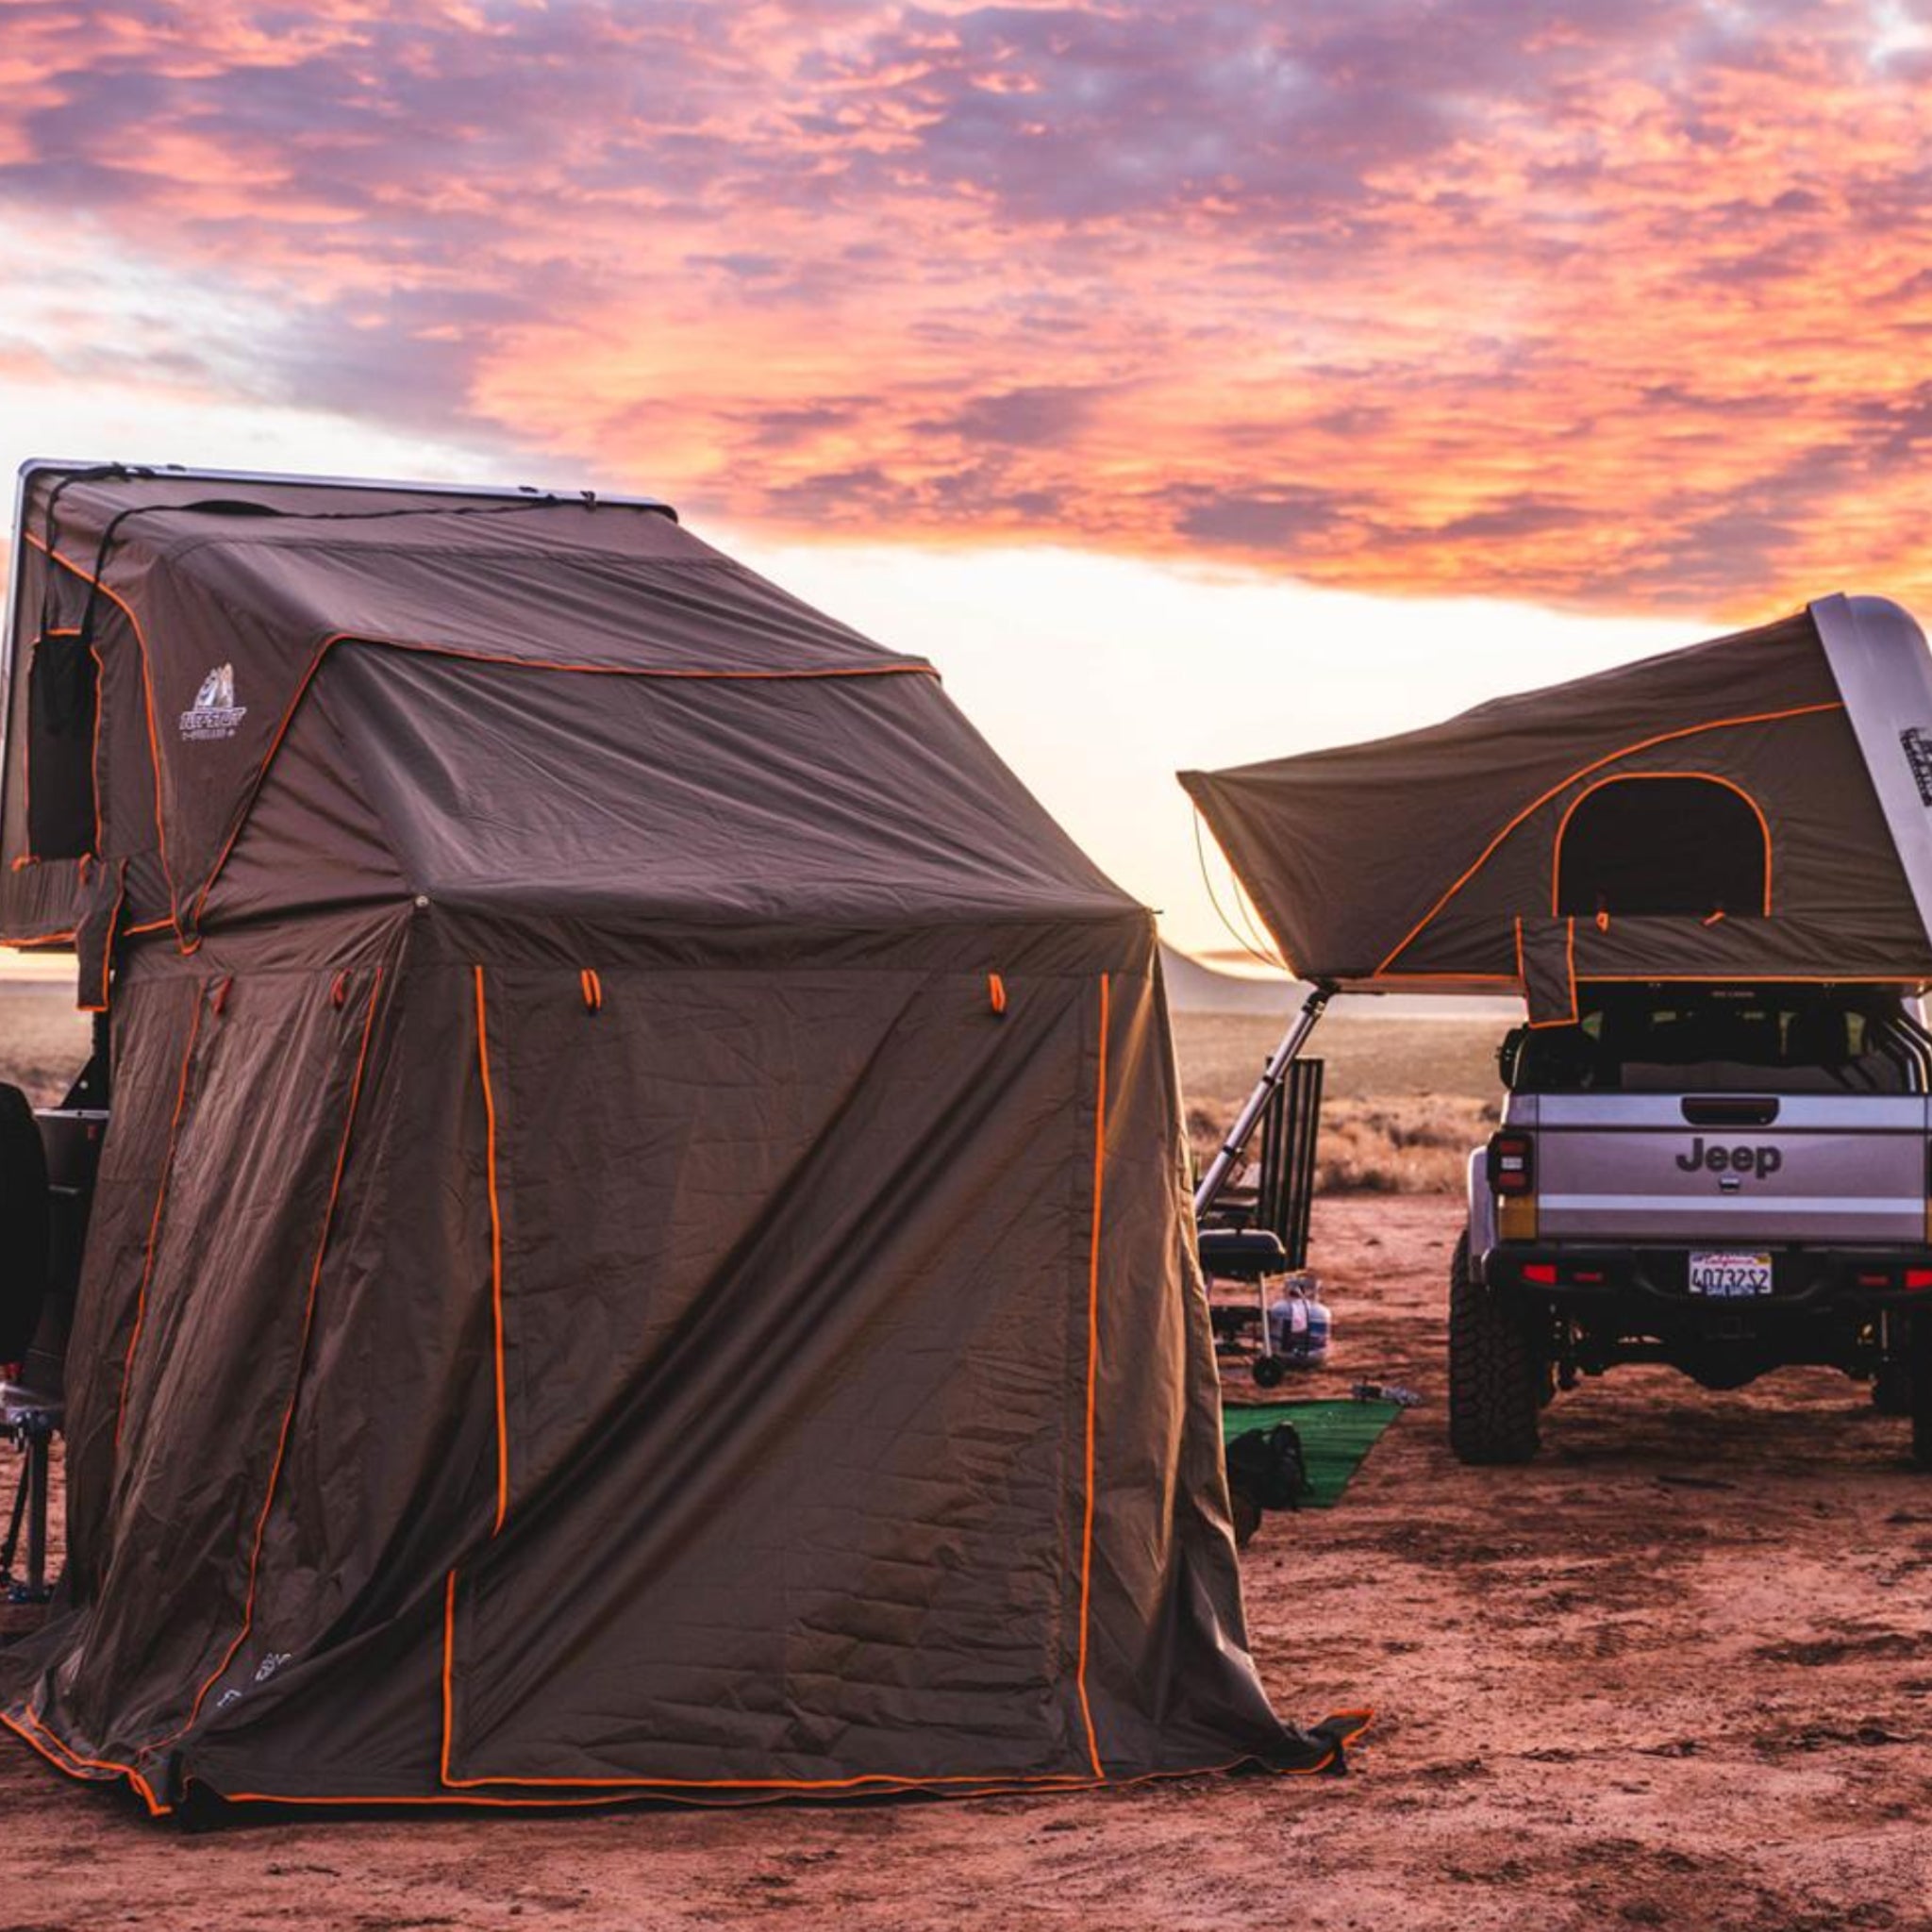
• Rugged 600D poly-oxford walls and 1000D PVC floor maximize protection from inclement weather
• Two large windows with mesh panels for lots of ventilation and natural light
• Creates a very versatile space for sleeping, cooking, hanging out, or sheltering from a storm
• Includes guide ropes for stability in windy conditions
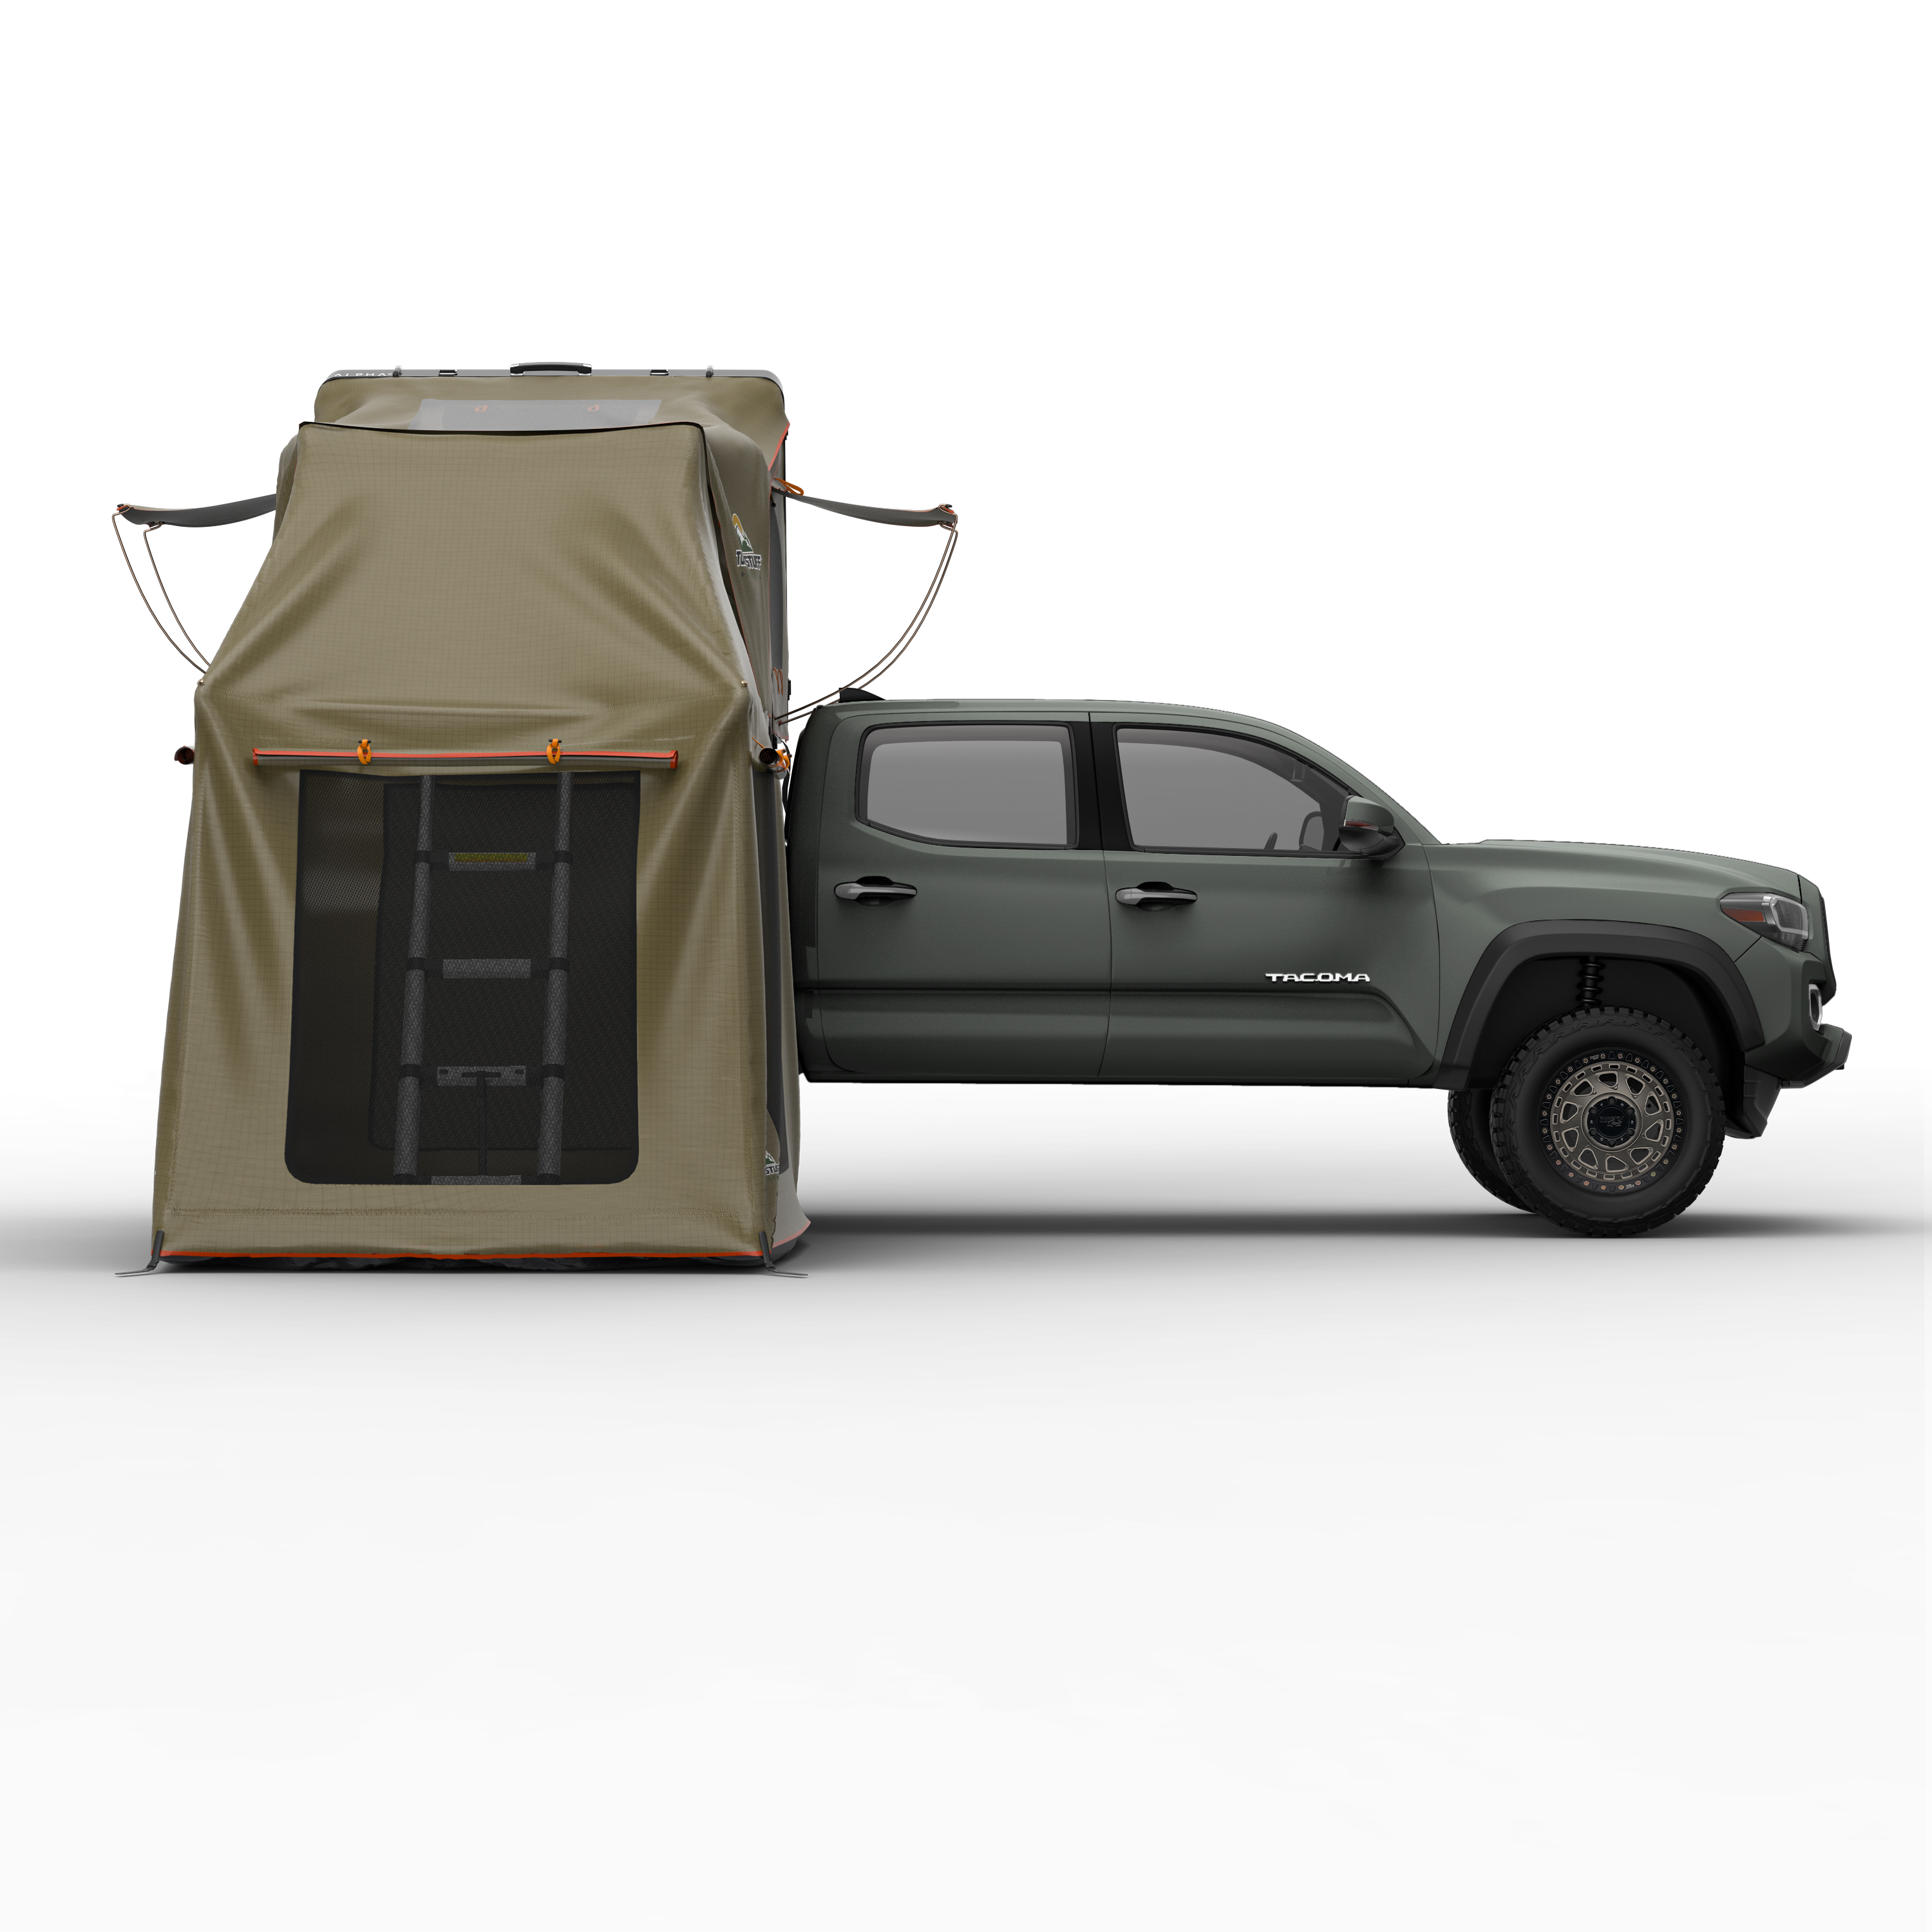
• Removable rear panel for easy vehicle access
• Alpha II Rooftop Tent is sold separately
- Ideal Mounting Height: 76–78 in
- Dimensions (L × W × H): 87" × 82" × 79"
- Floor: 1000D PVC
- Walls: 600D Polyester/Oxford
- Aluminized Coating: Better heat retention & interior privacy
- Resistance: Breathable, UV- & mold-resistant
- Water Behavior: Sheds water instantly
- Zippers: Heavy-duty YKK
- Windows: Three no-see-um mesh screened windows
- Color: Military Green
-
Before you start: Retract the ladder and face the tent from the front. The zipper corner should sit under the front-left tent edge (on your left as you face the tent).
-
Lay it out
Spread the floor flat and locate the upper zipper. -
Position the zipper corner
Place it directly under the front-left tent edge (ladder retracted). -
Find the back wall
On the annex, locate the corded top back wall (the one with orange cords for rolling up the vehicle access door). -
Orientation check
Hold the annex so the green side faces out. -
Feed into the base channel
Starting on the left side of the tent, slide the annex top edge into the tent’s base channel and continue around until all three sides are seated.
Tip: the back wall goes nearest your vehicle. -
Zip to the rainfly
With the annex seated in the channels, zip it to the rainfly. (It’s easier if you remove any tension rods first.) -
Attach the floor
Starting at the back-left, zip the floor to the walls. -
Square and stake
Smooth the floor evenly and stake each corner. -
Install tension rods
Place the orange tension rods vertically inside the front corners of the annex.
• On soft ground, use the rubber feet to protect the floor. -
Set height
Adjust each tension rod so the end sits level with the floor (recommended 76–79 in). -
Secure the front
Attach tie-down ropes to the tension-rod loops, then stake them firmly outside.
-
-
Weather: Not recommended for high winds or heavy rain.
-
Prevent pooling: Spread walls tight to avoid low spots where water can pool. Prolonged saturation may allow water to penetrate after several hours of heavy rainfall.
Can I use this annex room in all weather conditions?
No, this annex room is NOT recommended for high winds or heavy rains.
What is the annex room made from?
Manufactured from high-quality polyester/cotton windproof fabric.
Can I have the access door from any side of the vehicle?
Technically, no, the Alpha tent can fold open only from the passenger side of the vehicle, therefore the annex room will only have access to the passenger side of the vehicle.
Do I need an annex room?
Yes, you're going to want to spread out. Having extra storage and space when you need it most is what an annex room is all about. Put those kids and pets down below while you enjoy the scenery from above. And why not? You've worked hard to get here! Also, the annex room makes a great changing room instead of having to climb upstairs to switch out of the bathing suit and into camp wear gear... e.g. Ugg Boots and a sweatshirt.
Alpha II Annex Room, 87x82 Inches, Olive